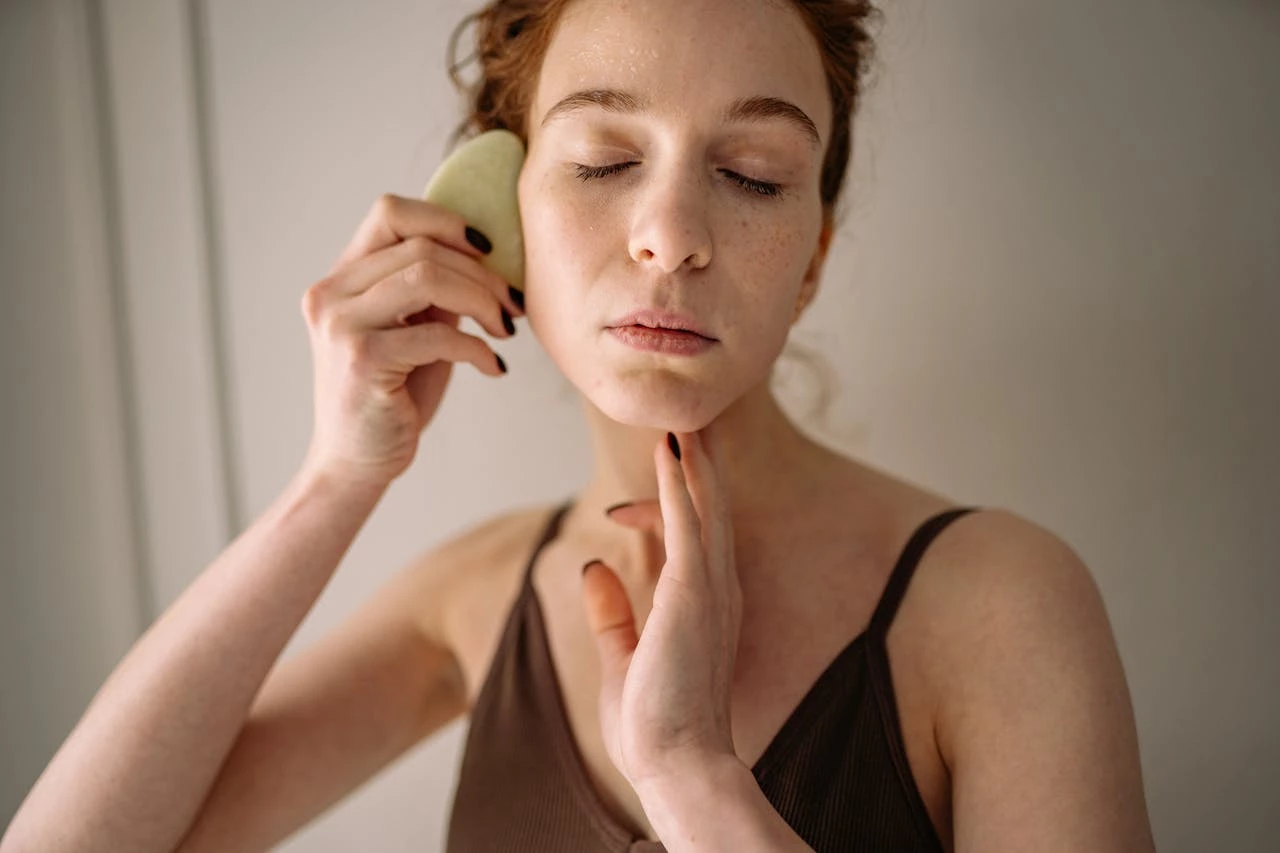
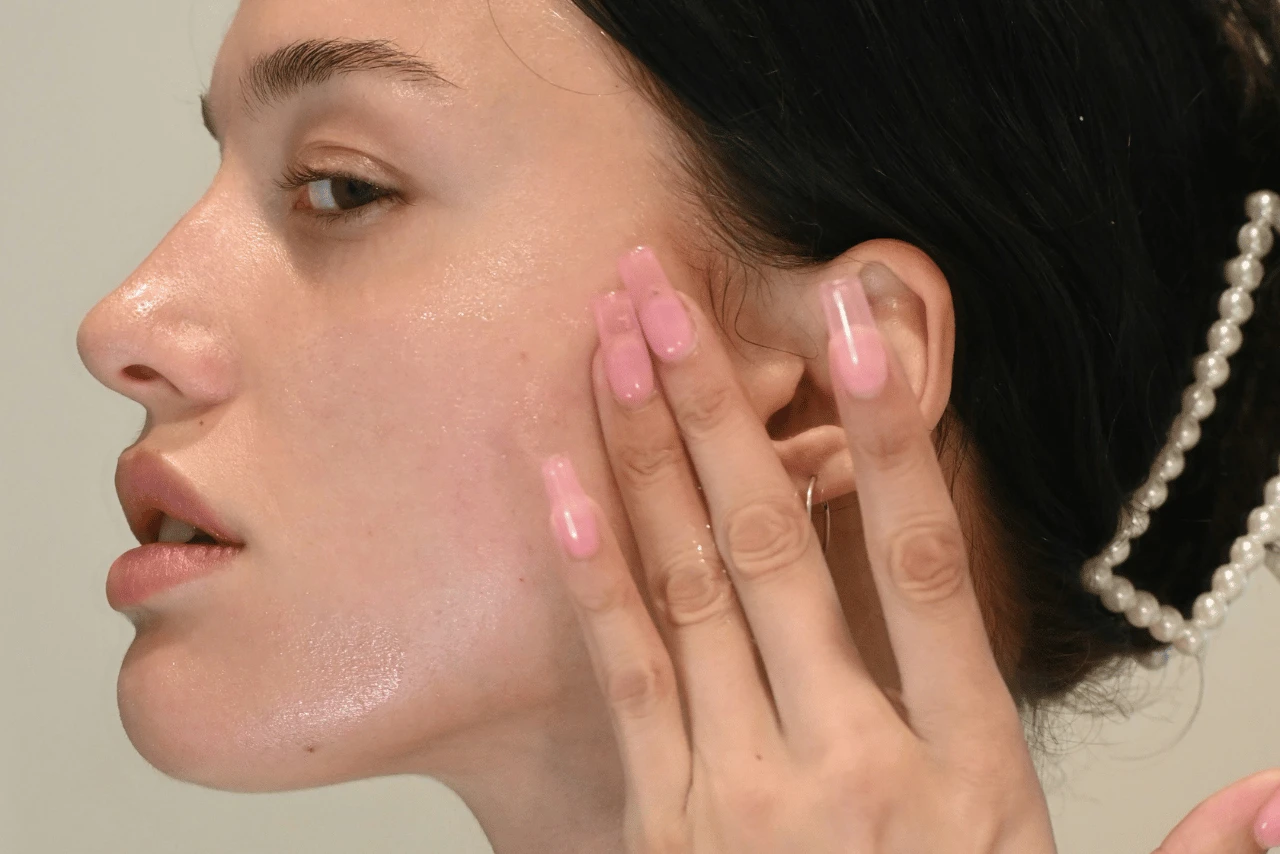
If you've ever been curious about the benefits of gua sha or just picked up a gua sha tool and aren't sure how to get started, you're not alone. Gua sha, a traditional Chinese practice, has gained popularity in recent years for its skincare benefits. It's known for helping with lymphatic drainage, reducing puffiness, and even giving your skin a natural glow. Here's a simple guide on how to use a gua sha tool so you can make the most of this self-care practice.
What is Gua Sha?
Gua sha is an ancient technique that involves using a smooth, flat tool to scrape or massage the skin gently. While traditional gua sha practices were used on various parts of the body to relieve tension and improve circulation, the facial gua sha technique is more about gentle strokes. When used regularly, it's believed to improve blood flow, reduce puffiness, and tone the skin.
Choosing Your Gua Sha Tool
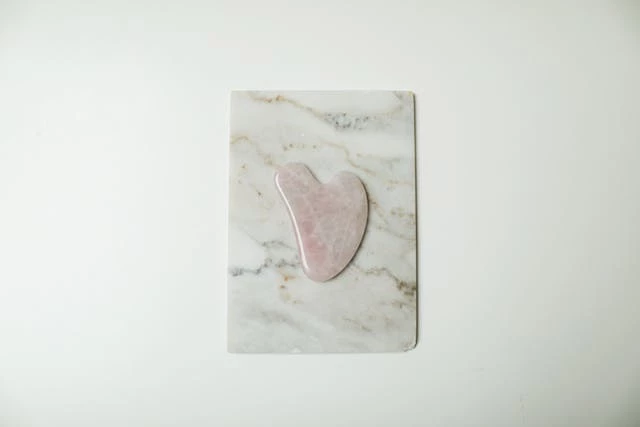
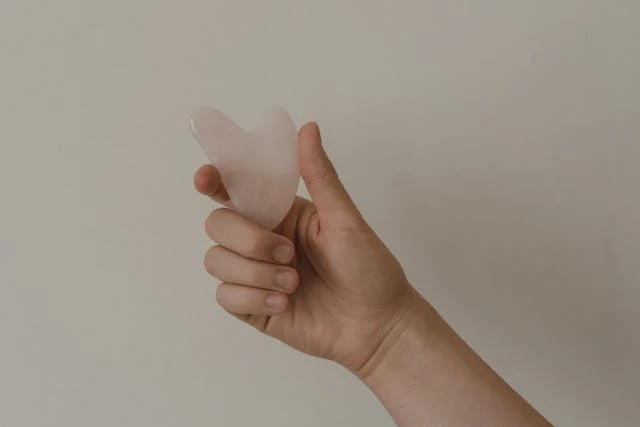
Most gua sha tools are made from materials like jade or rose quartz and come in various shapes. A gua sha tool with curved edges is ideal for facial work, as it's designed to glide smoothly along the natural contours of your face. The material is mostly about personal preference, so feel free to choose one that feels comfortable and suits your taste.
How to Prep Your Skin for Gua Sha
Before you begin, cleanse your face thoroughly to remove any makeup, dirt, or oil. Gua sha works best on clean, moisturized skin, so apply a facial oil or serum that provides a bit of slip. This will help the tool glide over your skin easily and prevent any pulling or tugging, which can be rough on the skin.
Step-by-Step Guide on How to Use Your Gua Sha Tool
.webp)
Here's a simple step-by-step guide to get you started with gua sha:
Start at the Neck:
Begin with your neck to encourage lymphatic drainage. Hold the tool at a slight angle (about 15 degrees) to your skin, and make gentle upward strokes from the base of your neck to your jawline. Repeat each stroke 5–10 times before moving to the next area.
Move to the Jawline:
Place the gua sha tool at the center of your chin and glide it along your jawline towards your ear. Use light to moderate pressure, and repeat this motion 5–10 times on each side of your face.
Cheek Area:
Position the tool on either side of your nose and sweep it outwards across your cheekbones, moving towards your temples. This helps reduce puffiness in the cheeks and gives them a nice, lifted look.
Under-Eye Area:
The area under your eyes is delicate, so use very gentle pressure. Start from the inner corner of your eye and glide the tool outward towards your temples. A few light strokes here can help reduce puffiness and make you look more awake.
Forehead:
Starting at the middle of your forehead, glide the tool outward toward your temples. For a little extra relaxation, you can also start at your eyebrows and gently move up toward your hairline. This step helps relieve tension, especially if you carry stress on your forehead.
Finish at the Neck Again:
To complete your gua sha routine, go back to the neck and repeat the upward strokes you started with. This final step encourages everything to flow downward, finishing off the lymphatic drainage process.
Tips for an Effective Gua Sha Routine
- Use Light Pressure: Gua sha for the face is different from body gua sha, so there's no need for intense pressure. Light to moderate strokes work best for facial skin.
- Be Consistent: To see results, try to incorporate gua sha into your routine a few times a week, if not daily.
- Listen to Your Skin: Gua sha should feel relaxing, so if you feel any discomfort, ease up on the pressure. Avoid using it on any inflamed or broken-out areas.
Potential Benefits of Gua Sha
Regular gua sha use can offer a range of skincare benefits, including:
- Reduced Puffiness: Gua sha encourages lymphatic drainage, which can help with puffiness, especially around the eyes and cheeks.
- Improved Circulation: The massaging motion boosts blood flow, which may give your skin a natural, healthy glow.
- Tension Relief: Gua sha can help relieve tightness, especially in the forehead, jaw, and temples, making it great for anyone with a habit of clenching or tensing up.
Aftercare: What to Do Post-Gua Sha
Once you're done, gently pat your skin and finish with your usual moisturizer to lock in the hydration from your facial oil or serum. You might notice a bit of redness, which is completely normal and should fade soon. It's just a sign that circulation is boosted in those areas.
Remember to clean your gua sha tool after each use. Simply rinse it with warm water and mild soap and let it air dry. This keeps the tool clean and prevents any buildup of oil or product residue.
Is Gua Sha Right for You?
Gua sha is generally safe for most skin types, but if you have sensitive skin or conditions like rosacea, you may want to use extra caution. Always listen to your skin and adjust your technique as needed.
Whether you're looking to reduce puffiness, add a relaxing step to your routine, or just try something new for self-care, gua sha offers a simple, natural way to care for your skin. Give it a try and see how it feels—who knows, it might become your favorite part of the day.
READ MORE: Dr. Idriss Depuffer Review: Is This Roll-on Serum Worth It?

